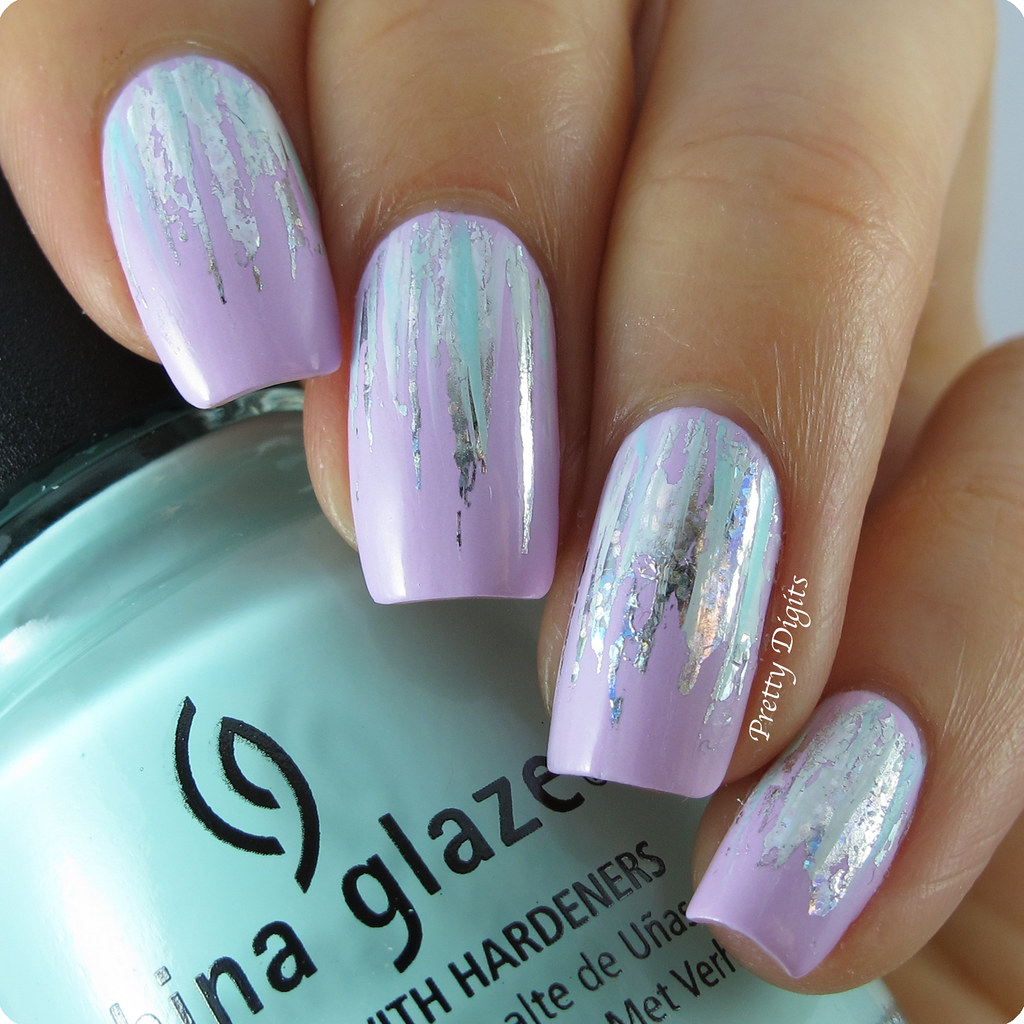
Today I want to share with you a very pretty waterfall manicure I created using silver holographic nail foil* from Born Pretty Store.
I started by painting my nails with CG - A Lilly Bit then once they had dried I painted lines of varying lengths starting from the cuticle with Kami Nail Foil Glue. Whilst I waited for this to become tacky I cut nail size pieces of foil ready to use. I then carefully placed the foil on the nail and gentle smoothed it onto the nail paying particular attention to where I had painted the glue. Then in one swift action I pulled it off. This should leave you with pretty holographic lines. To give it another dimension I added some extra lines using CG - At Vase Value.
The results are below:
 |
| The holo-ness really pops in direct sunlight. |
What do you guys this?
This was the first time I used foils so it was a bit of trial and error. The foil came in a big sheet measuring 30cm x 10cm which meant I had to cut it to size but not have too much wastage. You will have to purchase nail foil glue separately which is essential for the foil to transfer properly. I resigned to this fact after much experimentation with various glues/topcoats etc. The foil is very holographic however applying a topcoat will dull the effect considerable.
The Fantasy Starry Holo Nail Foils Glitter Transfer Stickers Nail Decoration come in lots of different designs and the one I used was number 38. Each sheet only costs $0.99.
If you're into nail art check out Born Pretty Store for lots of cool nail art items that will get your creative juices flowing.


